If you'd like to learn vim, I'll be sharing what I found helpful while picking it up. Vim seems ancient with all the fancy new IDEs like Visual Studio Code. However, I've found vim to greatly improve my productivity. Within a month, I started to use vim full time and never looked back.
The timelines are just a guideline so feel free to skip ahead or slow down.
Why vim
I saw a few colleagues using vim and I was intrigued. I wondered how a text-only interface can work better than an IDE. At first, vim seemed difficult to use and I thought it was only for the nerdiest. The bar was too high, or so I thought.
I can't find the article but I remember it talking about how programming is like surgery. In a sense, most of the time, we make minor tweaks just like surgery. But we might also repeat the same change throughout the repository. And after learning that vim is built to do those things without any fancy tooling, I was convinced to give it a shot.
Week 1 - Vim Tutor
Vim tutor comes with every UNIX computer. To figure out whether you have it, simply go to your terminal and enter vimtutor. If you're using a windows machine, refer to https://superuser.com/questions/270938/how-to-run-vimtutor-on-windows.
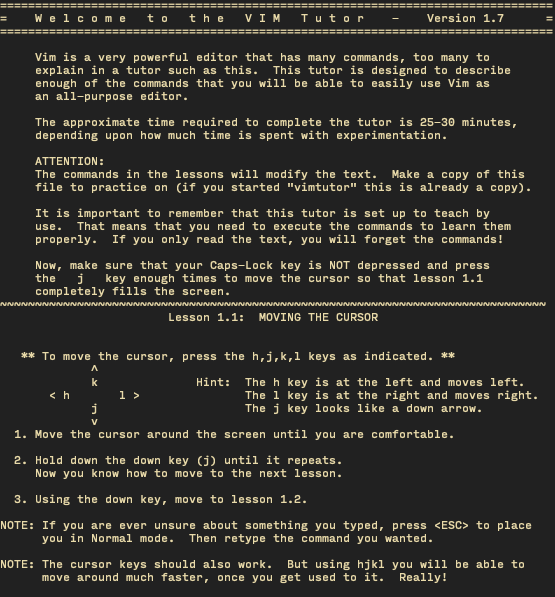
The beauty of the file is that it teaches you through practice. Getting used to the keybindings in vim requires some unlearning of what you're used to. And there's no better way than to simply practice. Just like learning a musical instrument, if you are struggling with any chapters, repeat them until you are confident.
Spend a couple of hours in the first week to play around with vim tutor. And once you're comfortable with the basic modes and keys, you're ready for vim.
Week 2 - Vanilla Vim
At this point, you should be able to use vim to edit files but you might find the vim defaults a bit of a hassle. I'd recommend tpope's vim-sensible plugin to help start you off with some defaults that make sense while still allowing you to explore and use vim.
Learn how to use buffers or tabs and how to navigate using vim commands and motions.
Week 3 - CLI tools
If you are familiar with the command line and Linux, you can probably skip this. Vim and the terminal work hand in hand so it'd feel like typing with one hand rather than two if you didn't know how to use command-line tools.
A place to start would simply be your terminal. Basics include ls, mkdir, cp, mv, touch, cat, rm and many more. A book I'd recommend would be Linux Pocket Guide.
Week 4 - Customise
Vim is built to be infinitely customisable. Every software engineer's vim is different. Some people like to use vanilla vim so it's easy to be as efficient on remote machines. Others might install so many plugins that their vim might be mistaken for an IDE.
Whatever the case, you would still require a .vimrc file to add your configs. I'd recommend slowly changing that file and only adding things when you've gotten used to your current setup. A mistake I've made was to add too many things at the beginning without fully understanding what I was adding. That caused some issues later down the road when things broke.
Practice makes perfect
If you have come this far and aren't convinced, you could always return to your IDE. But you are convinced, practice makes perfect. There's no better way to be more proficient than using it for your daily projects.
There are endless things to learn about vim so it's quite likely I've only scratched the surface. I'd also recommend using vim with tmux once you're confident and try out neovim as well.